QuickSight
QuickSight can connect to on-premise ClickHouse setup (23.11+) via MySQL interface using the official MySQL data source and Direct Query mode.
On-premise ClickHouse Server Setup
Please refer to the official documentation on how to set up a ClickHouse server with enabled MySQL interface.
Aside from adding an entry to the server's config.xml
<clickhouse>
    <mysql_port>9004</mysql_port>
</clickhouse>
it is also required to use Double SHA1 password encryption for the user that will be using MySQL interface.
Generating a random password encrypted with Double SHA1 from the shell:
PASSWORD=$(base64 < /dev/urandom | head -c16); echo "$PASSWORD"; echo -n "$PASSWORD" | sha1sum | tr -d '-' | xxd -r -p | sha1sum | tr -d '-'
The output should look like the following:
LZOQYnqQN4L/T6L0
fbc958cc745a82188a51f30de69eebfc67c40ee4
The first line is the generated password, and the second line is the hash we could use to configure ClickHouse.
Here is an example configuration for mysql_user that uses the generated hash:
/etc/clickhouse-server/users.d/mysql_user.xml
<users>
    <mysql_user>
        <password_double_sha1_hex>fbc958cc745a82188a51f30de69eebfc67c40ee4</password_double_sha1_hex>
        <networks>
            <ip>::/0</ip>
        </networks>
        <profile>default</profile>
        <quota>default</quota>
    </mysql_user>
</users>
Replace password_double_sha1_hex entry with your own generated Double SHA1 hash.
QuickSight requires several additional settings in the MySQL user's profile.
/etc/clickhouse-server/users.d/mysql_user.xml
<profiles>
    <default>
        <prefer_column_name_to_alias>1</prefer_column_name_to_alias>
        <allow_experimental_analyzer>1</allow_experimental_analyzer>
        <mysql_map_string_to_text_in_show_columns>1</mysql_map_string_to_text_in_show_columns>
        <mysql_map_fixed_string_to_text_in_show_columns>1</mysql_map_fixed_string_to_text_in_show_columns>
    </default>
</profiles>
However, it is recommended to assign it to a different profile that can be used by your MySQL user instead of the default one.
Finally, configure the Clickhouse Server to listen on the desired IP address(es).
In config.xml, uncomment out the following to listen on all addresses:
<listen_host>::</listen_host>
If you have the mysql binary available, you can test the connection from the command line.
Using the sample username (mysql_user) and password (LZOQYnqQN4L/T6L0) from above the command line would be:
mysql --protocol tcp -h localhost -u mysql_user -P 9004 --password=LZOQYnqQN4L/T6L0
mysql> show databases;
+--------------------+
| name               |
+--------------------+
| INFORMATION_SCHEMA |
| default            |
| information_schema |
| system             |
+--------------------+
4 rows in set (0.00 sec)
Read 4 rows, 603.00 B in 0.00156 sec., 2564 rows/sec., 377.48 KiB/sec.
Connecting QuickSight to ClickHouse
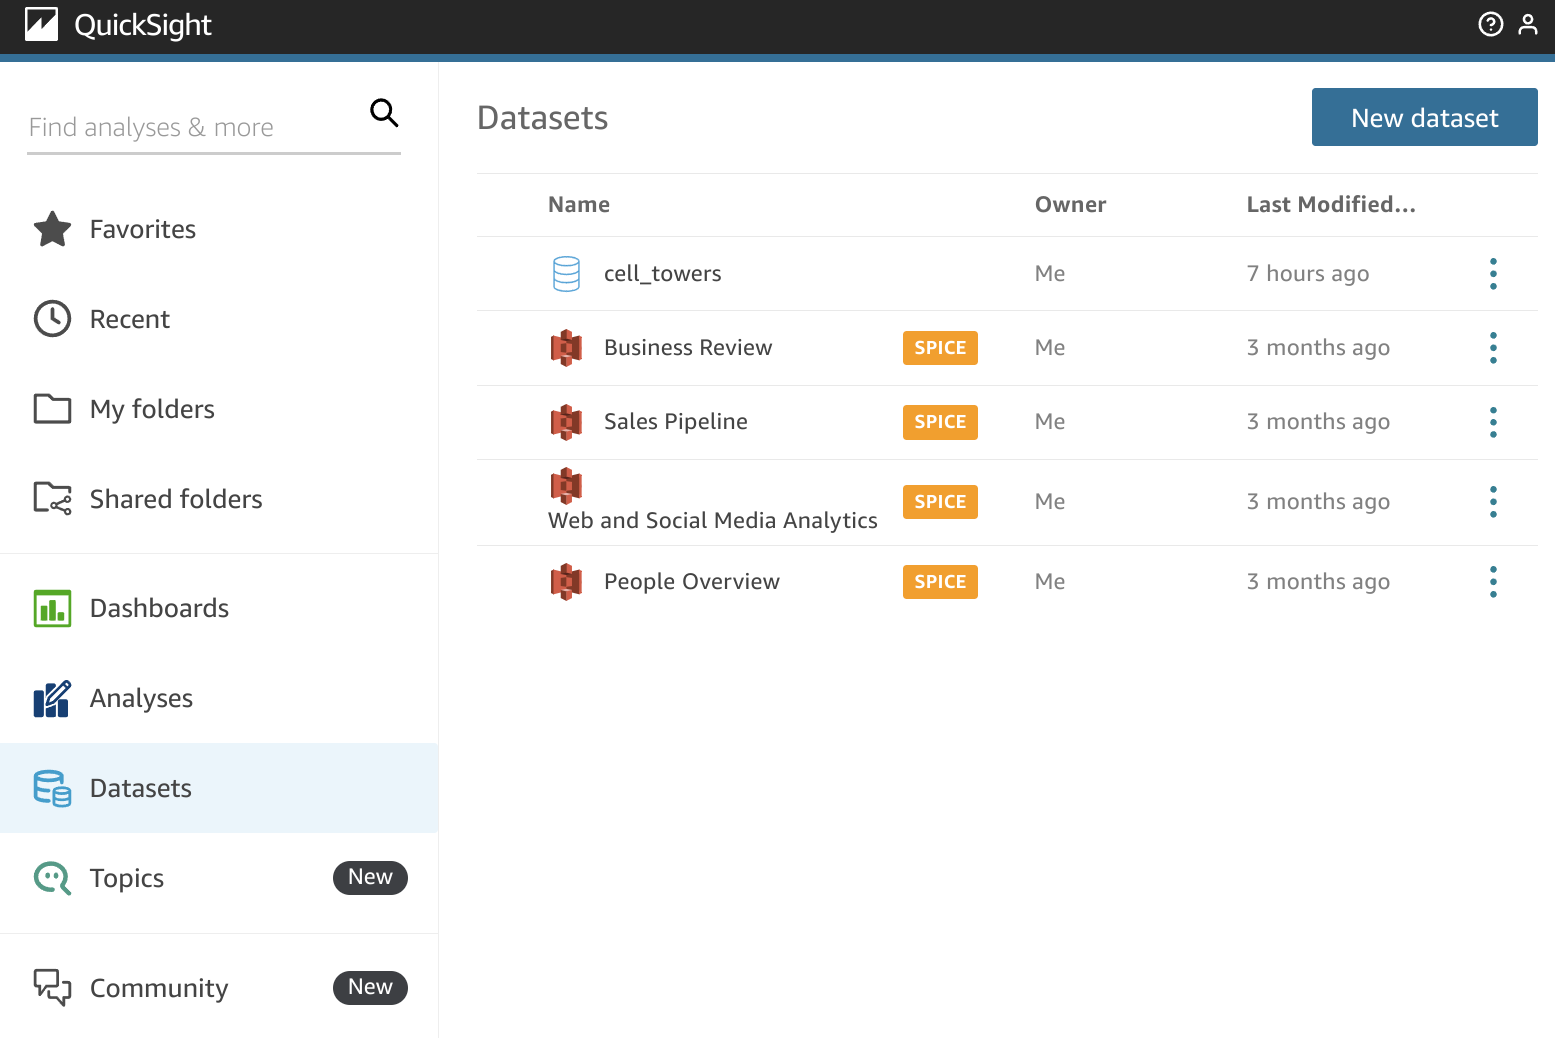
First of all, go to https://quicksight.aws.amazon.com, navigate to Datasets and click "New dataset":
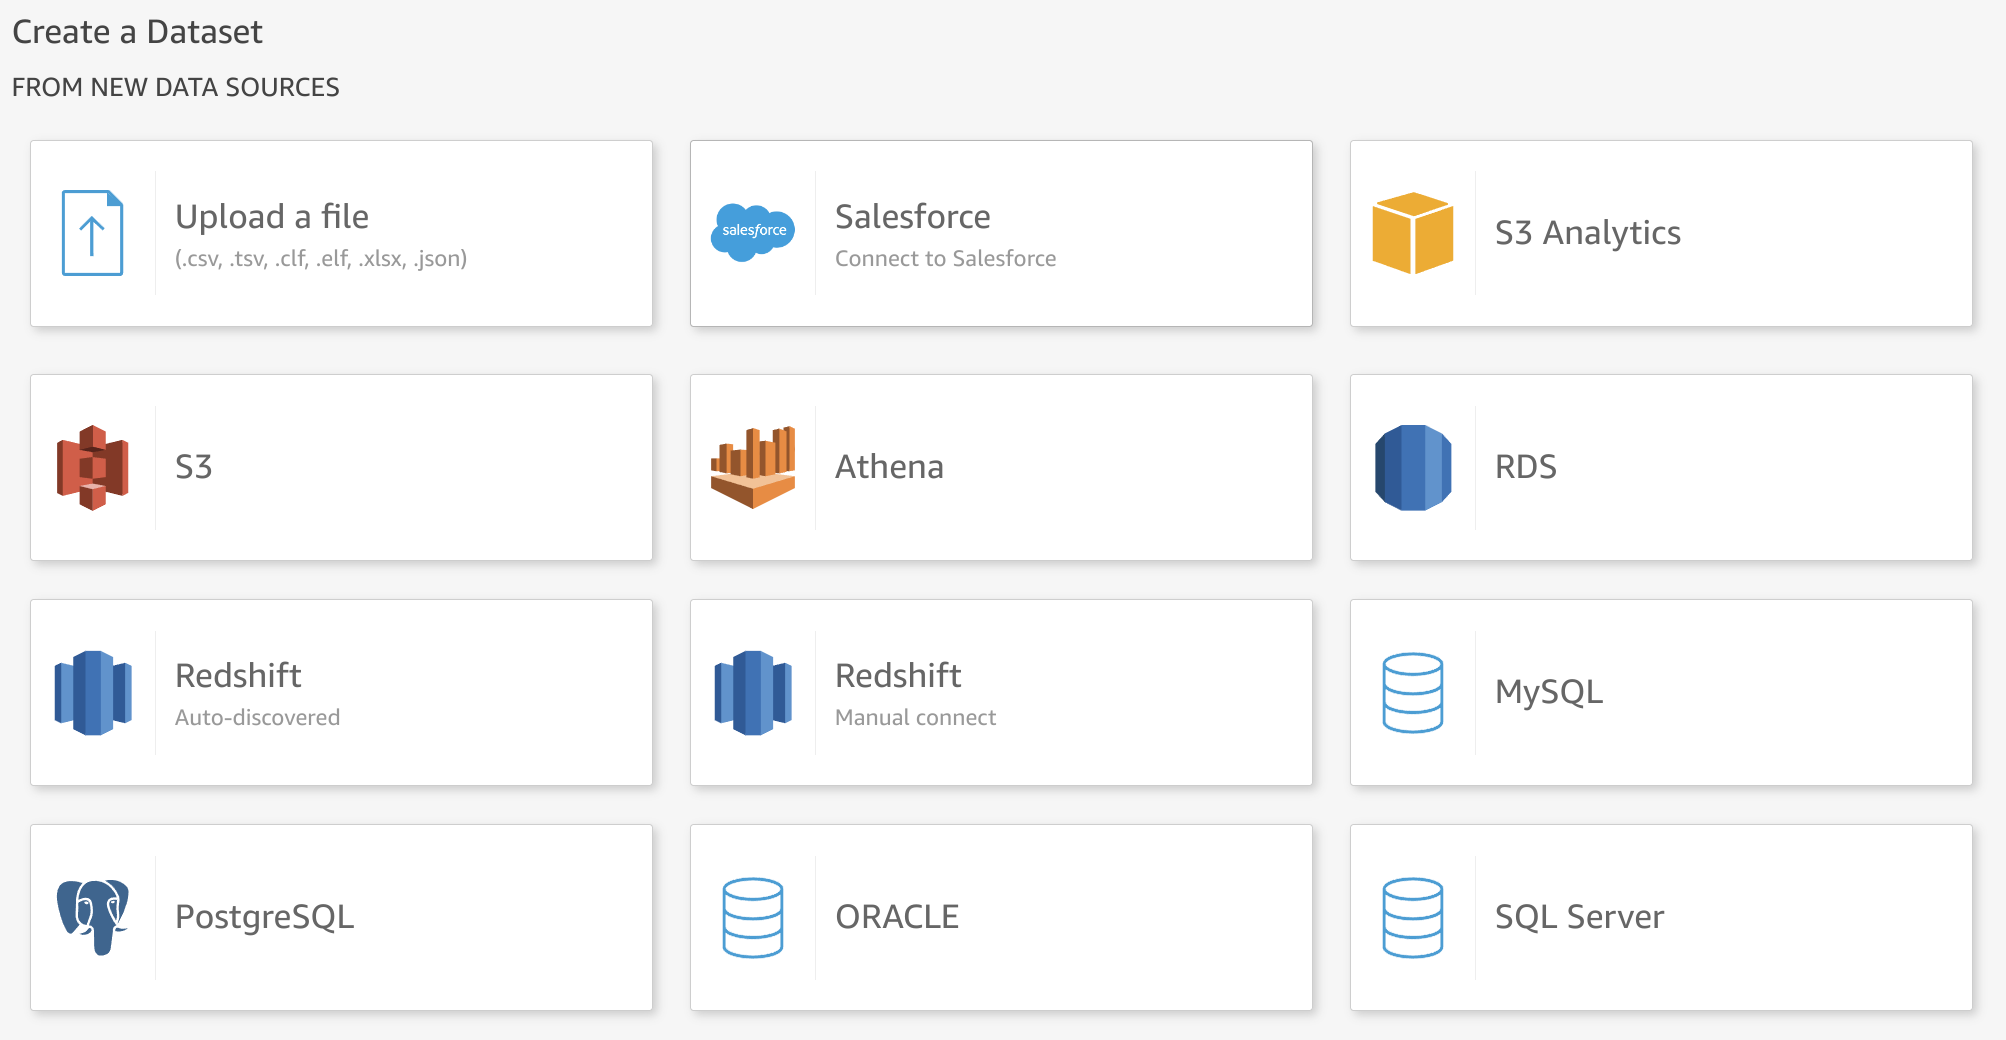
Search for the official MySQL connector bundled with QuickSight (named just MySQL):
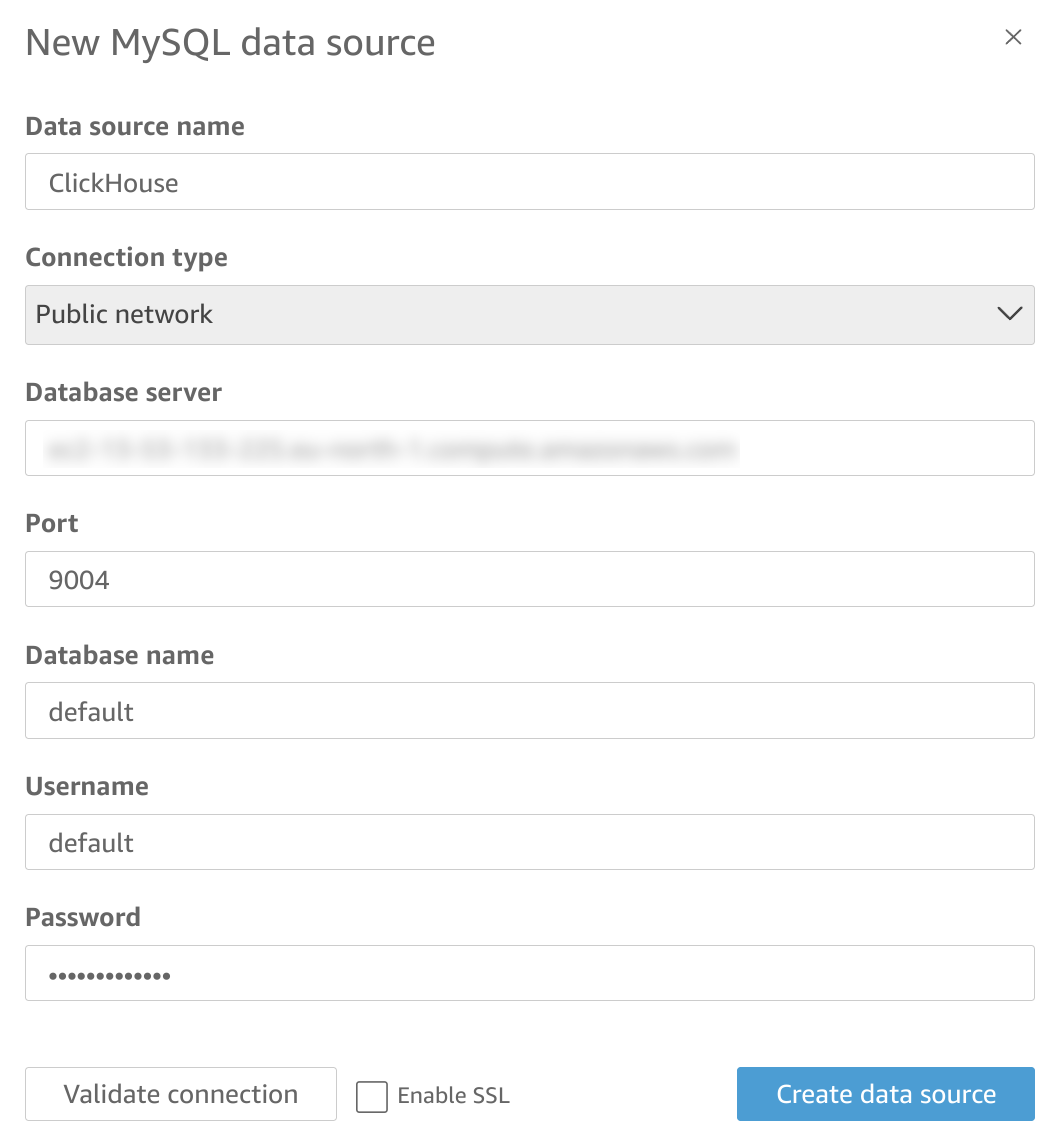
Specify your connection details. Please note that MySQL interface port is 9004 by default, and it might be different depending on your server configuration.
Now, you have two options on how to fetch the data from ClickHouse. First, you could select a table from the list:
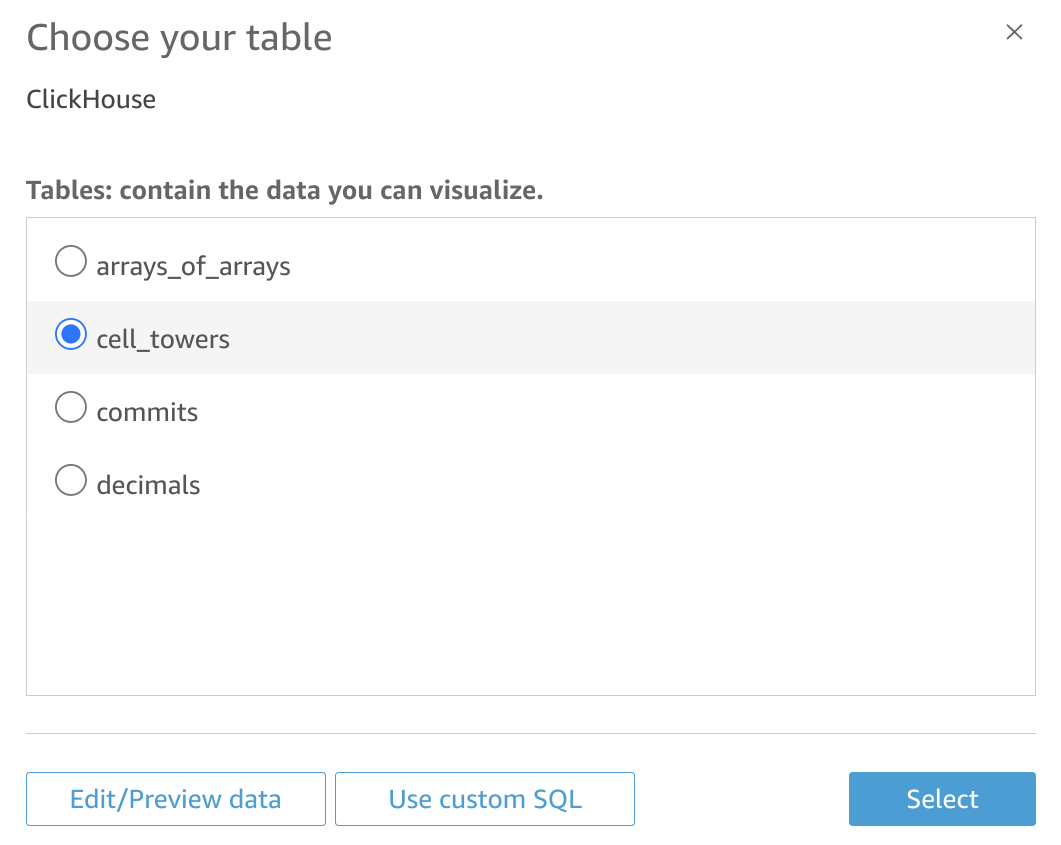
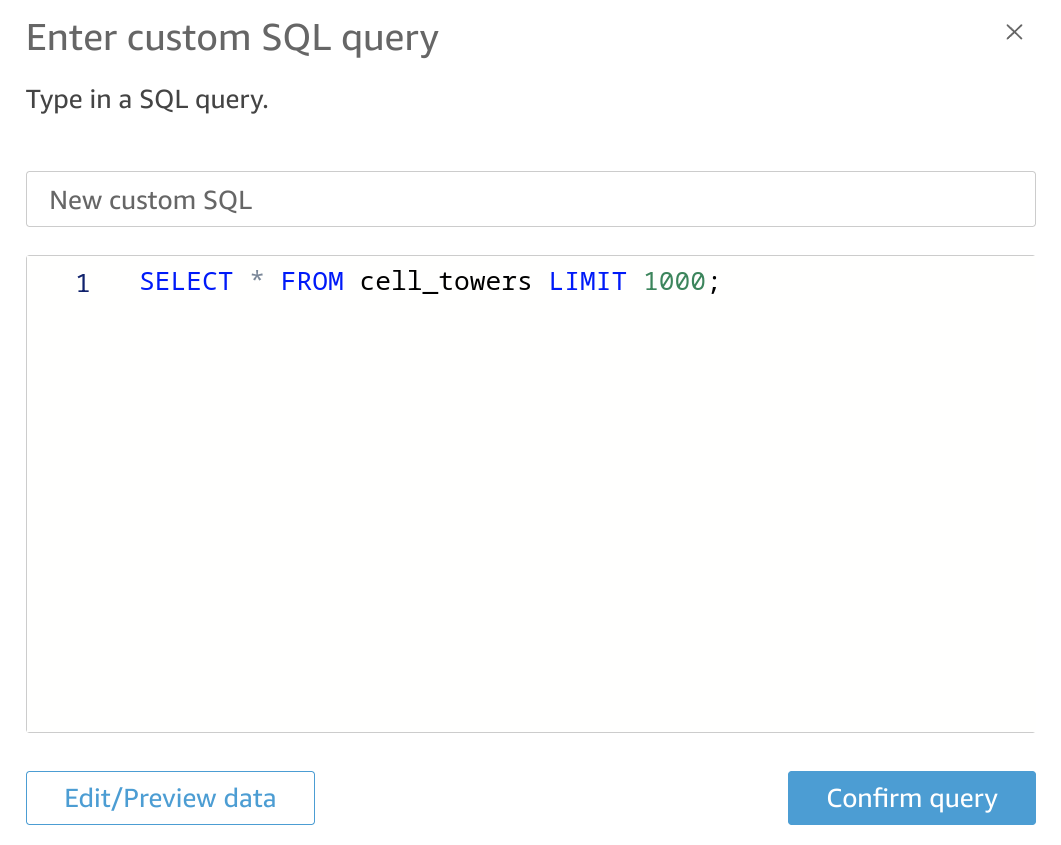
Alternatively, you could specify a custom SQL to fetch your data:
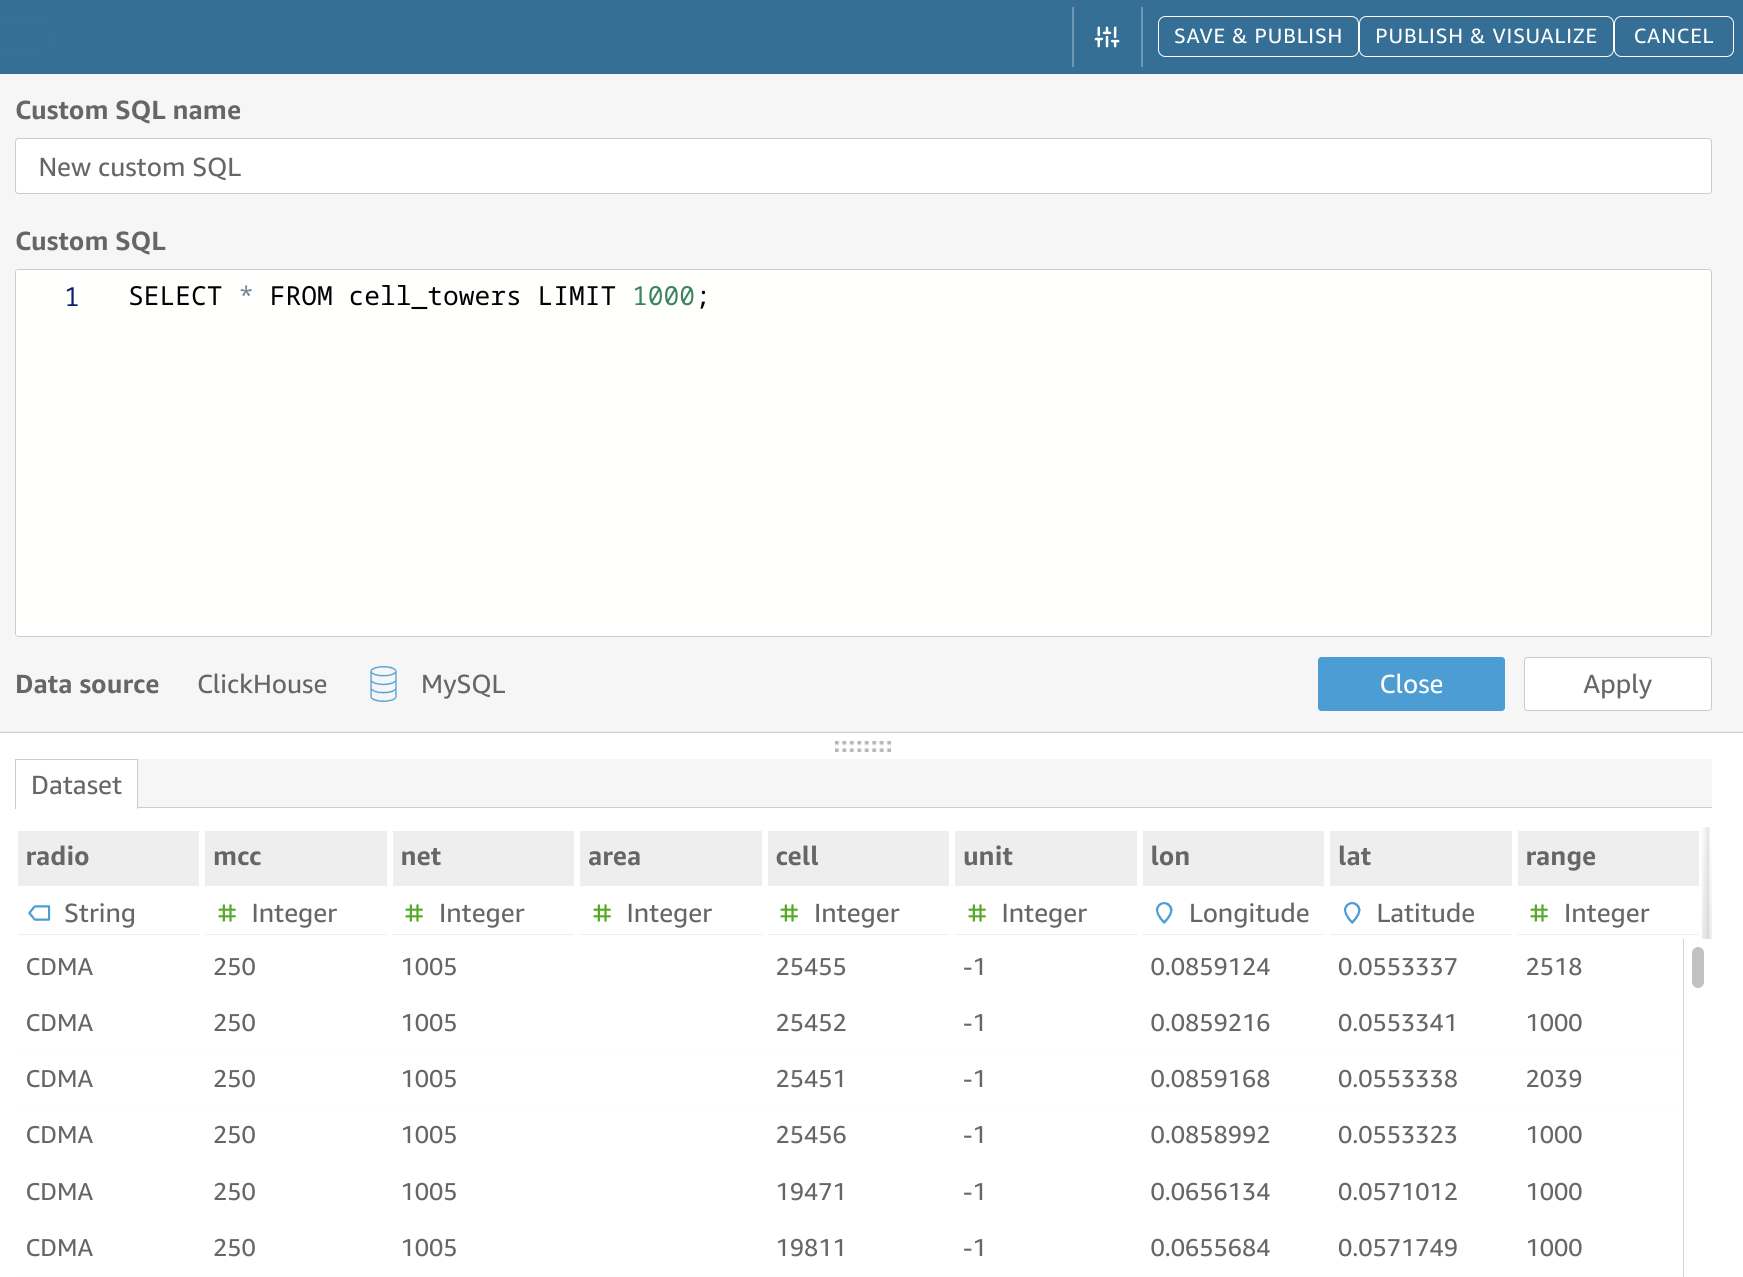
By clicking "Edit/Preview data", you should be able to see the introspected table structure or adjust your custom SQL, if that's how you decided to access the data:
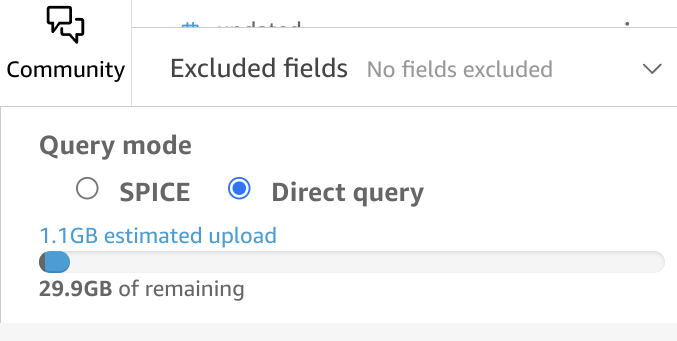
Make sure you have "Direct Query" mode selected in the bottom left corner of the UI:
Now you can proceed with publishing your dataset and creating a new visualization!
Known limitations
- SPICE import doesn't work as expected; please use Direct Query mode instead. See #58553.